Designing Packaging Online: 6 Tips for Success
We know designing packaging online can be a nerve-wracking process. How can you guarantee a successful outcome if you can’t see it in person? How will you know the color will print correctly? What if it doesn’t look how you pictured? Even with 3D Previews, we want to give your design the best chance possible to come out flawless. From ensuring your colors come out vibrant and true, to choosing a size that perfectly fits your product, we’ve put together a quick checklist of all the things we ask our customers to consider when they ordering packaging online.
1. Try it on for size
The first step to online ordering success is simple – grab a measuring tape and measure! Ok, this one seems pretty straightforward, but thoroughly measuring your product and any inserts you plan on including will help you avoid a potential packing disaster. If you have some boxes laying around, try using them to help you get an idea for your ideal size and include any packing materials you plan on filling your box with. Packlane allows you to customize your exact box size down to the quarter inch – so be sure to take advantage! This is also a good time to explore what material you’d like to use, from sturdy corrugated to sleek paperboard.
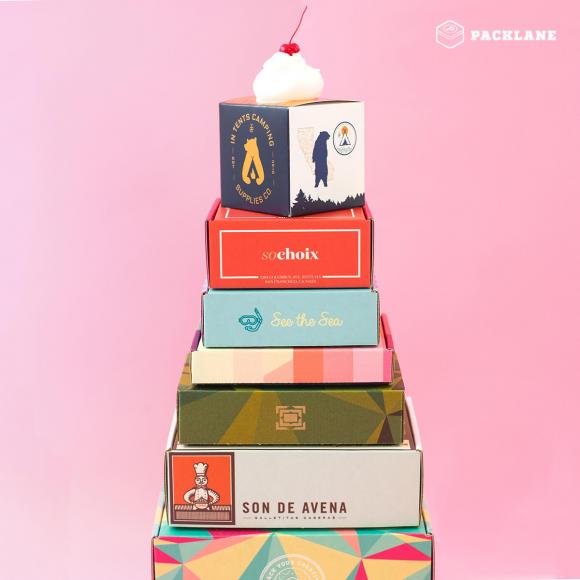
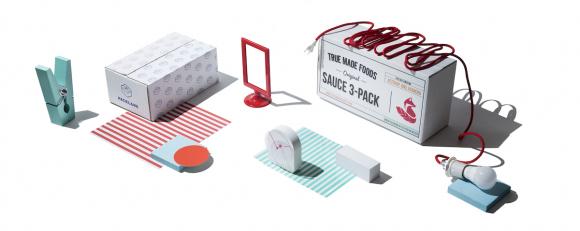
2. Design with the experience in mind
Once you know the size and material for your box, it’s time to design. Make sure you’re considering the full unboxing experience for your customer – start by thinking about what you want them to see first. Is it your logo? A tagline? A cute message inciting them to open? Remember, you’ve got six sides to work with, so there’s plenty of room to play around. Also, having a 3D preview option can help you fully picture how you want your packaging to look and guarantee a more successful print run.
3. Avoid an “oh no!” moment
Print technology has come a long, long way, but there are still a few things us humans have to do to avoid disastrous printing errors. Checking your color settings and saving design files in the correct format are crucial to ensuring your print job goes off without a hitch. If you’re designing in RGB, you’ll want to convert to CMYK to avoid any color variations that might throw off your branding. Most printers will automatically convert RGB to CMYK for you, but it’s always a smart idea to make the conversion yourself and preview the results (some colors appear duller once converted – eek!).
When it comes to your design files, most non-photographic content is best sent as a vector-based PDF or Adobe Illustrator (.ai) file – these make your lines crisp and clear. Still, always check the Artwork Guidelines for the printer you’re using – and when all else fails, a quick call to customer service can usually answer any questions regarding file types. It never hurts to double check!
4. Follow type guidelines
Choosing a font for your brand has implications that go beyond how it will look on your website. When it comes to print, you want to make sure you’re using a type with a weight and size that will be legible. Minimum recommended sizes vary depending on the material, and usually can also be found under the Artwork Guidelines of a site. At Packlane, we recommend at least 14pt for a corrugated carton, and 8pt for a paperboard carton, but you’ll want to check the exact recommendations for the printer you’re using. This is especially important when it comes to italicized fonts, which can come out fuzzy if they’re not an adequate weight or size. The trick is sticking as closely to your brand fonts, while still guaranteeing your print job will be a success. Just because you can read it in the online preview, doesn’t necessarily mean you’ll be able to read it once it shows up on your doorstep.
5. Start small (if you can).
If you have the time and want to be 100% sure you love your packaging, start with a small minimum order. Use your first set of boxes to test-wrap your products, and ask friends for feedback on their unboxing experience. Ask them if the packaging elevated their perception of your brand (while also ensuring that the item is safe and secure in its box). You can also get an idea for the level of branding (logos, tagline, etc) that strikes the right balance between easy recognition and design-forward. Small minimum orders make it easier to try out short-run seasonal designs or one-off promotions, so you can have the flexibility to update your look whenever you please.
6. Make reordering a breeze
If you’re growing your business, chances are, you’ll need more than a single, one-off order. Choosing a company that saves your designs and can scale the number of boxes as you need, will make reordering all the easier – you don’t want to have to start from scratch, after all! We promise, you’ll thank yourself later.
In our experience, following these six simple steps will help ensure every order comes out picture perfect – and avoid any major headaches down the line!